The following tips on how to build a beehive kit will help to ensure that your hives are well-built.
And well-built hives and hive components will provide years of service.
(NOTE: These hive assembly tips are oriented toward wooden, Langstroth-style hives.
Hive bodies and frames have become available in recent years that are constructed of composite materials such as polystyrene and plastic.
Since these require little or no construction, this page is focused upon the assembly of traditional woodenware hives, which are still the most commonly used in the U.S.)
You Don’t Have to Build Anything…
If you don’t want to.
These days, all of the major suppliers of hives and hive components offer the equipment fully assembled and painted, ready to use.
But, of course, you will pay a premium for the service of having the equipment assembled for you.
You’ll also pay an additional premium in shipping charges since the assembled equipment is much bulkier, and therefore more costly to ship.
But it Really Isn’t Difficult…
Partly assembled beehive kit
You can save these extra costs by doing the assembly work yourself.
Building a bee hive kit isn’t difficult, and requires only a few simple tools.
I’m not exactly known for my construction skills, so if I can do it (and I can), you can too.
Instructions for how to build a beehive will be provided with most any kit that you purchase.
Many kits will also come with the hardware (mainly just nails) needed in the assembly, and even if they don’t, the instructions provided with most kits will specify the hardware to use in assembly.
So if assembly is so easy, and the kits provide instructions, then why is this ‘how to build a beehive’ page necessary?
It really isn’t!
But over the years, I’ve learned a few tips about how to build a beehive that might help you a bit.
I’ve listed them below, and if you’ve never constructed a hive before, it might be worth it to you to spend a few moments looking them over before you start your first hive.
Beehive Kit Assembly Tips
Use Glue:
In addition to nailing parts together, also use a good wood glue. Apply the glue to parts just before nailing.
Using glue provides extra strength, and though it’s more trouble during the assembly phase, it pays off in the long run.
Keep it Square:
Use a carpenter’s square to make certain that your hive bodies and frames come out square.
It’s not critical that they’re perfect; just use the square to make sure that they are as true as you can make them.
If they’re a little off, don’t worry about it (sorry if I’m making some of you talented builders cringe here!).
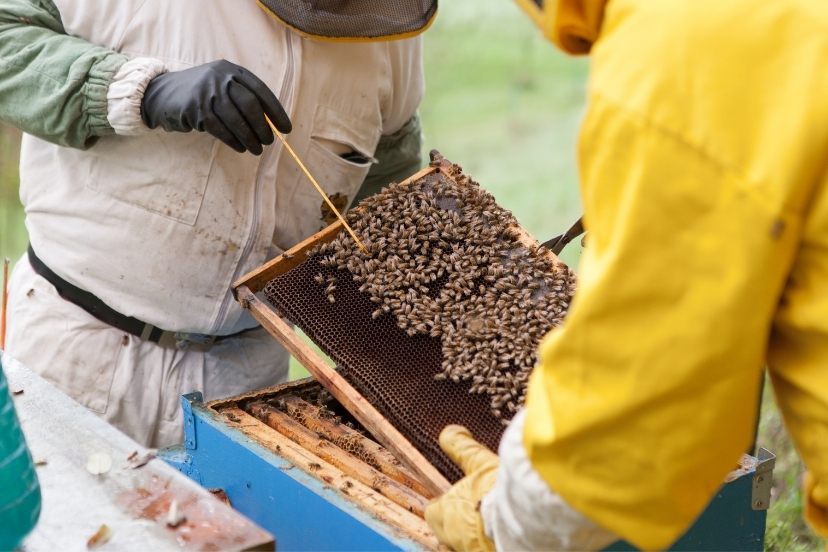
Cross-Nail Frames:
In addition to driving nails through the top and bottom bars of frames into the side pieces, also nail through the side pieces into the top/bottom bars (and use glue!).
Doing this can be a bit difficult and tedious, and some assembly instructions may not suggest cross-nailing, but I’d recommend doing it anyway.
Not many things in beekeeping are more frustrating than trying to pry a frame out of a super, only to have the one-way nails let loose and the top bar come off, tearing away from the comb.
What a mess. And it doesn’t exactly make the bees happy when that happens!
Cross-nail!
Paint:
Use a good latex paint. Apply at least a double coat to all of the exterior surfaces of the hive.
Don’t paint the inside walls of the hive body or supers, and don’t paint the frames, of course. I paint all surfaces of the bottom board and outer cover.
I live in Texas, where it gets really HOT, and I prefer to paint my hives white to help with the heat.
But probably any color would be OK (though I wouldn’t use a very dark color such as black or dark brown in a hot climate).
If you have a lot of hives in your apiary, it can actually be helpful to the bees to have multi-colored hives.
When hives are lined up in a row, and identical in appearance, the bees can sometimes get confused when returning to the hive, and enter a neighboring hive instead of their own.
This is called drifting, and if you’re going to line your hives up side-by-side, using distinguishing marks such as different colors can eliminate this problem.