If you’re going to become a beekeeper, you’ll want to learn about the parts of a beehive.
You’ll need to know which parts are optional (not many), and variations that are available for some of the parts.
Perhaps the best way to approach this topic is by making a list and explaining each of the beehive components in succession.
So let’s start at the bottom of the hive, and work our way up…
Hive Stand
Hive stand is pretty self-explanatory, as many of these terms are.
It’s a stand to set the hive on so that it doesn’t have to rest directly on the ground.
You definitely want to keep your hive off of the ground, but there’s really no need to spend money on the hive stands sold by equipment manufacturers.
These hive stands come with an inclined landing board which slopes up to the hive entrance, and are designed so that the bottom board of the hive fits nicely onto the stand, keeping it elevated off of the ground.
They look nice, and certainly do the job, but if you want to save some money, you can use anything that will prevent the hive from resting directly on the ground.
Cinder blocks (my favorite) work great, and will last indefinitely. Bricks, flagstones, and wooden beams such as 4”x4”’s all work great.
It’s probably best to avoid treated lumber for your stand, and whatever you use, make sure that it provides a level and STABLE support for your hive.
A tipsy beehive is a very bad thing!
Bottom Board
Provides the foundation for the hive.
The bottom board is designed to provide an entrance into the hive on one end when the hive body is placed on top.
Hive Body:
The hive body, sometimes called the brood nest, rests on the bottom board, and forms the “first story” of the hive.
The hive body is traditionally a deep super, but it doesn’t have to be.
(A brief aside: There are three sizes of boxes or chambers used on beehives: deep, medium depth, and shallow depth. They are called supers. They are identical except for the depth, and all may be used for any purpose.)
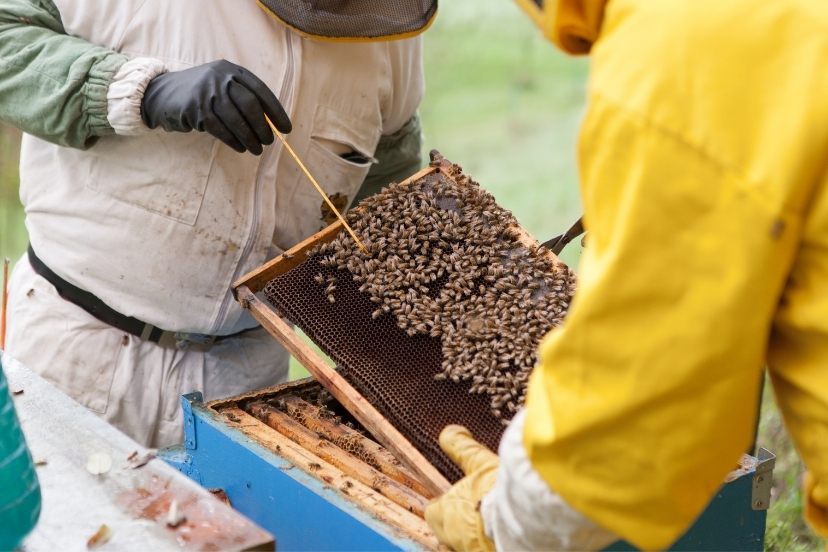
Whichever size super is used for the hive bodies (there usually are at least 2 hive bodies per hive), each super contains 10 frames with wax foundation upon which the bees build their comb.
8-frame supers and hive bodies are also becoming more popular, since they tend to be lighter and easier-to-handle.
Queen Excluder
A queen excluder (optional) is designed to restrict the movement of the queen. It is placed between supers, and its design allows worker bees to pass through it, but not the queen.
Its purpose is usually to keep the queen in the brood nest so that there will be no brood in the honey supers.
Whether a queen excluder should be used is a point of perpetual debate among beekeepers.
Honey Super:
bee hive bottom board, super and frames
The honey supers are where the majority of the honey crop is stored.
As with the hive body, any size super can be used, but shallow depth supers are traditionally used for this purpose. Be careful, though – if you decide to use a deep super as a honey super, it will be REALLY heavy when full of honey (can be more than 60 pounds).
(FWIW, I use medium depth supers for everything. Their weight is manageable when full of honey, and I like the uniformity and interchangeability of equipment.)
Inner Cover
The inner cover provides an insulating dead air space between the top of the hive and the outer cover.
Inner covers aren’t absolutely necessary, but I prefer to use them.
You could put the outer cover directly upon the top super, but in addition to the extra insulation, the inner cover provides sort of an intermediate buffer when taking off the outer cover to work the hive.
It’s less jarring to the bees than to have the hive completely exposed as soon as the outer cover is removed (or so I imagine, anyway).
Outer Cover
The outer cover is the roof of the hive. You can buy a telescoping cover, which fits down over the top of the uppermost super, or you can buy a top cover that just sets flat upon the top super.
Either is fine.
One caveat, though: do NOT use a telescoping cover without also using an inner cover.
Your hive inspection is off to a really bad start when the top frames are stuck to the outer cover, and because of the telescoping sides, it’s difficult to angle your hive tool in to unstick the frames.
In this situation, the frames usually end up finally popping off of the cover and dropping back down into the super with a thud.
The bees don’t like that very much. You won’t either.
Note: This overview of the parts of a beehive pertains to the most widely used type of hive, the Langstroth hive. If you’ll soon be building a hive, you might want to check out this page detailing the construction of a Langstroth hive kit.